 how-to
Can You Insulate Outdoor Planters Yourself?
Last Updated: November 4, 2026
Quick Summary
Yes, you can insulate outdoor planters yourself with a foam or bubble liner, an outer burlap wrap, and a layer of mulch on the soil. Start before the first hard freeze and keep the top open so moisture can escape.
- Use rigid extruded foam board for better durability than standard white packing foam.
- Two layers of burlap wrapped around the pot work well for winter protection.
- Apply a 2 to 3 inch layer of shredded bark or straw over the soil surface.
- Leave the top of the wrap open and keep liners at least 1 inch above drainage holes.
- Start insulating about two to three weeks before your average first fall frost date.
Table of Contents
- Why Insulating Outdoor Planters Matters
- Choosing the Right DIY Planter Liner Materials
- How to Insulate Potted Plants for Winter
- Insulating Pots for Summer Heat
- Preventing Moisture Problems and Root Rot
- Matching Insulation to Your Hardiness Zone and Timing
- Start Insulating Your Planters This Season
- Frequently Asked Questions
Why Insulating Outdoor Planters Matters
Learning how to insulate outdoor planters is one of the simplest ways to protect plant roots from temperature swings.
Here is the core problem.
Most gardeners focus on the foliage and forget the roots. The roots are where the real damage happens.
- Container roots lack the soil mass that buffers temperature in beds
- Freeze-thaw cycles can split pots and stress roots
- Heat stress can slow growth and dry out soil faster
Insulation slows these changes. It does not stop them, but it buys time and keeps the root zone steadier.
Choosing the Right DIY Planter Liner Materials
A liner is the layer that sits between the soil and the pot wall. Choosing the right material matters more than most gardeners expect.
Look for materials that resist moisture, hold their shape, and do not break down quickly in the soil.
Foam Board and Styrofoam Liners
Foam board is a popular choice for DIY insulation. Rigid foam cuts easily and fits snugly inside most containers.
Styrofoam works too, but it has drawbacks. Standard white packing foam breaks apart over time and sheds small pieces into the soil.
- Use rigid extruded foam board for better durability
- Cut panels to fit the inside wall with a small gap for drainage
- Keep foam off the drainage holes so water can still escape
Thermal Conductivity of Pot Materials
Pot material changes how fast heat moves through the wall.
Terracotta loses heat fast and dries out quickly. Thick plastic and resin hold temperature more steadily. Metal pots can overheat in direct sun.
This is why a liner often helps more in metal or thin ceramic pots than in thick plastic ones.
How to Insulate Potted Plants for Winter
Winter insulation works best when you start before the first hard freeze. To insulate outdoor planters for winter, wrap the pot, protect the soil surface, and keep the root zone covered.
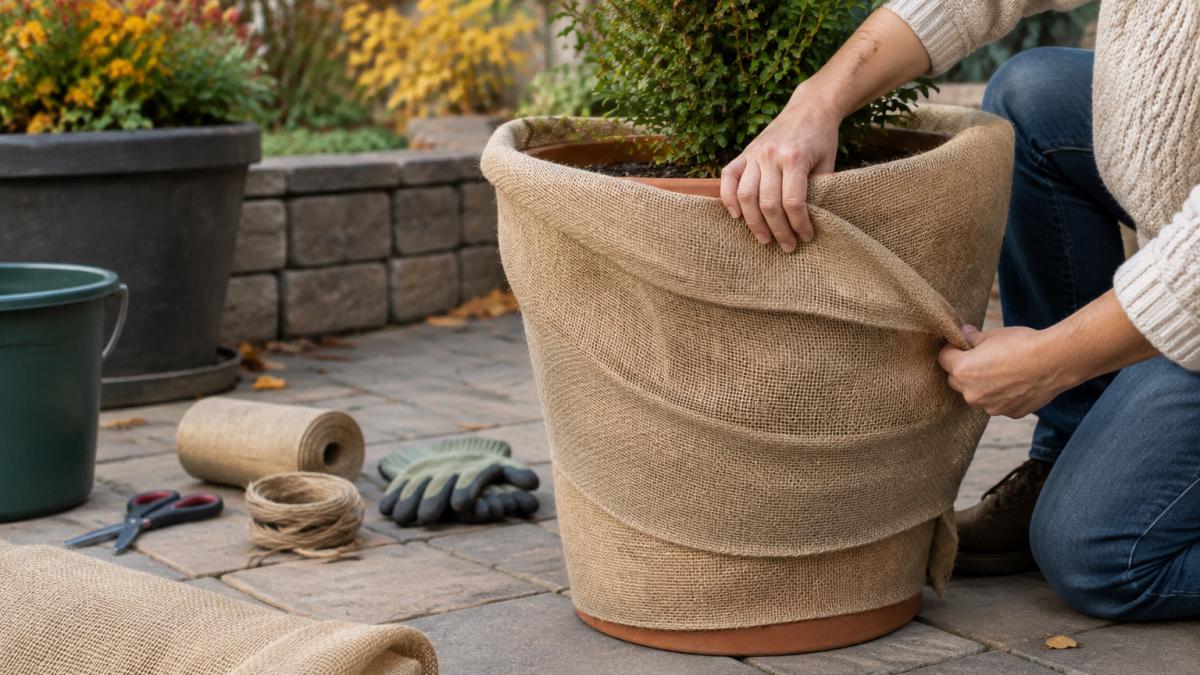
Wrapping Techniques With Burlap and Bubble Wrap
Burlap and bubble wrap are the two most common outer wraps. Each has a job.
Burlap breathes and blocks wind. Bubble wrap adds an air layer that slows heat loss.
A simple method:
- Line the pot with a foam liner or bubble wrap.
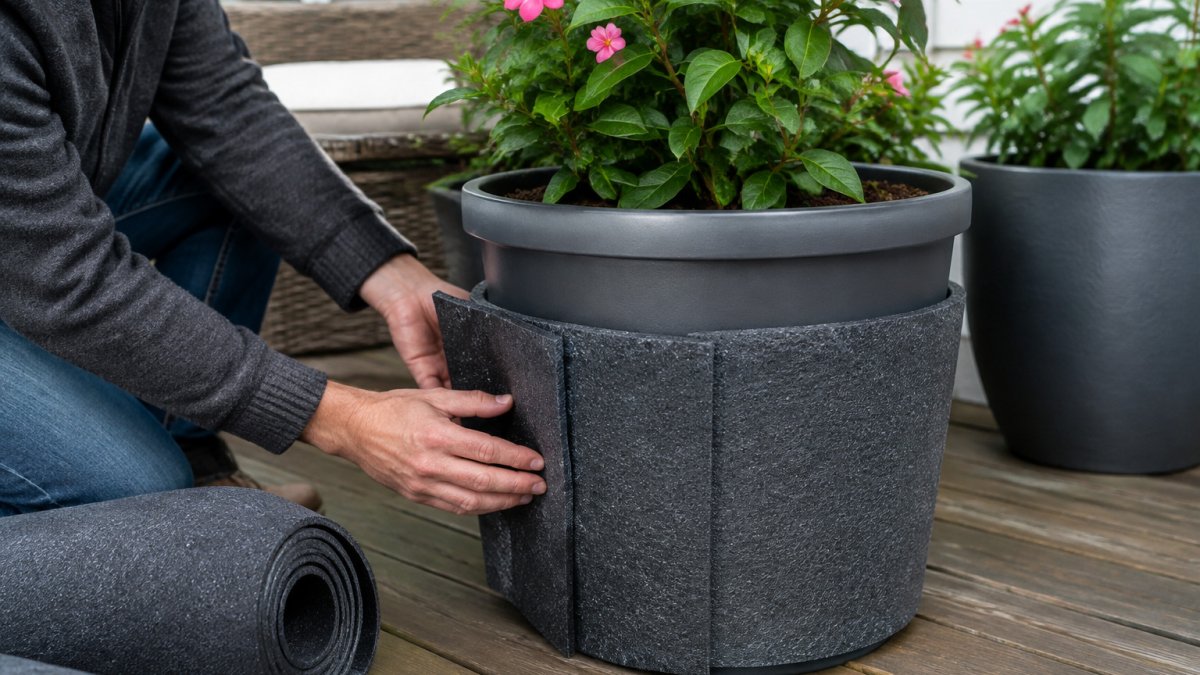
- Wrap the outside with two layers of burlap.
- Secure the wrap with twine, leaving the top open for airflow.
- Add a layer of mulch over the soil surface.
Common mistake: sealing the top completely. Trapped moisture can lead to rot.
Burying Pots and Using Mulch for Root Protection
Burying a pot in the ground is one of the strongest insulation methods. The surrounding soil acts as a thermal mass and holds heat far better than air.
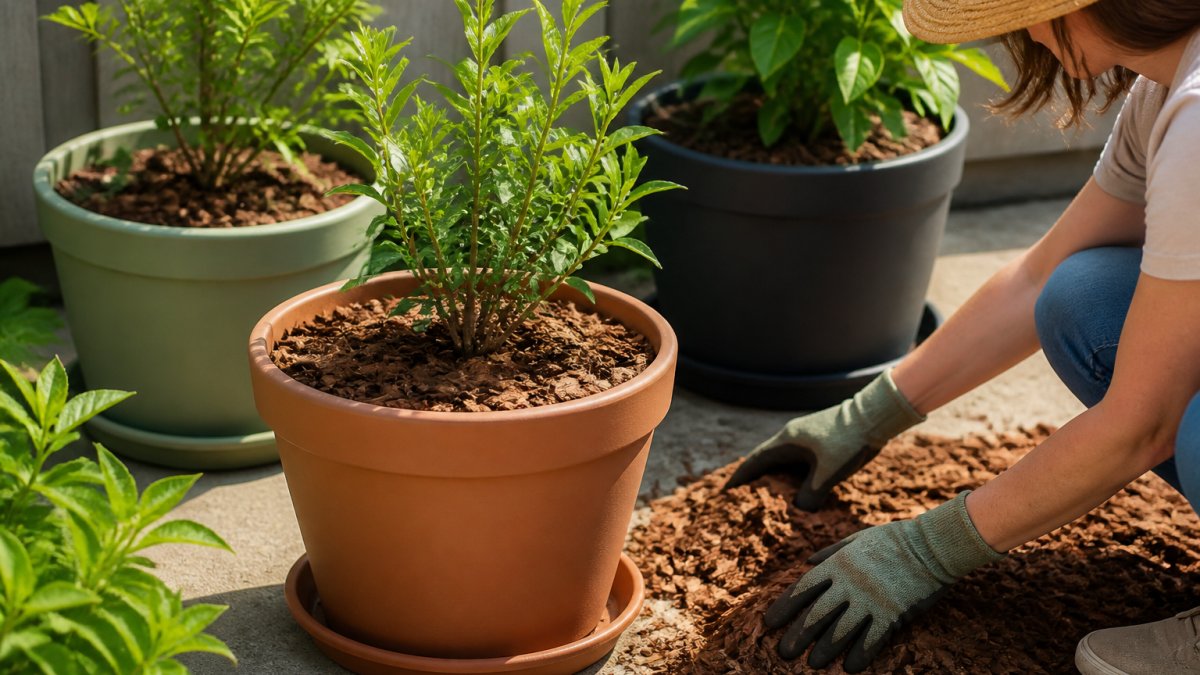
Mulch works well on top of the soil. A 2 to 3 inch layer of shredded bark or straw slows temperature changes at the root surface.
- Dig a hole slightly wider than the pot
- Set the pot inside and backfill the gap with soil
- Apply mulch around the plant base, not against the stem
Insulating Pots for Summer Heat
Summer insulation matters just as much as winter protection. Dark pots in full sun can heat roots to damaging levels.
Light colors and reflective surfaces help. Shade the pot wall if you can. A liner also slows heat from reaching the root ball.
Keep the soil moist, since moist soil stays cooler than dry soil.
Preventing Moisture Problems and Root Rot
Insulation and moisture fight each other. Every layer that slows heat loss also slows evaporation, and a wrapped pot can hold water against the root ball for weeks. Root rot is the most common way a well-insulated planter still fails, so treat drainage and airflow as part of the insulation job, not an afterthought.
Why Wrapping Traps Water
A sealed outer wrap turns the pot into a mini greenhouse. Water vapor from the soil condenses on the inside of the wrap, runs back into the soil, and never escapes. Combined with cool temperatures and slow plant growth, that is the recipe for root rot. The fix is not less insulation, it is ventilation.
Drainage Checks Before You Wrap
- Confirm every pot has at least one drainage hole, and clear it of compacted soil before wrapping.
- Keep foam liners and bubble wrap at least 1 inch above the drainage holes so water can still exit.
- Set pots on pot feet or a couple of bricks so runoff does not pool under the base.
Balance Warmth With Airflow
Burlap is the better outer wrap for moisture management because it breathes; bubble wrap is the better inner layer because it traps air. Put the breathable material on the outside and the vapor-blocking material against the pot wall, and leave a gap at the top. If you use a plastic or foil-backed wrap, poke a few small vent holes near the top edge.
Water Less, but Not Never
Container plants in cool weather need far less water, but they still need some. Water only when the top inch or two of soil feels dry, and water in the morning so excess moisture has all day to drain. Never let a pot sit in a saucer of standing water through a freeze, the ice expands and can crack the pot as well as damage roots.
Watch for the Warning Signs
Yellowing lower leaves, a sour or musty smell from the soil, soft dark roots, and fungus gnats are all signs that moisture is building up under the insulation. If you see them, pull the wrap back for a few days, check the drainage hole, and let the surface dry before re-wrapping. Watch out: a plant that looks wilted in winter may be overwatered, not thirsty, check the soil before adding more water.
Mulch Depth Matters
A 2 to 3 inch layer of shredded bark or straw slows temperature swings at the soil surface, but deeper is not better. Mulch piled against the stem holds moisture against the crown and invites rot. Keep mulch a couple of inches back from the trunk or stem, and refresh it only after the soil has cooled.
Matching Insulation to Your Hardiness Zone and Timing
Most guides tell you to 'know your zone' and stop there. That is not enough to size an insulation job. The USDA Plant Hardiness Zone Map gives you the average annual extreme minimum temperature for your location, and that single number, not a generic 'winter' label, should drive how many layers you add and when you add them.
Read Your Zone as a Temperature, Not a Label
Each half-zone step represents about a 5°F shift in the average annual extreme minimum. Zone 5a bottoms out near -20°F, 5b near -15°F, 6a near -10°F, 6b near -5°F, 7a near 0°F, 7b near 5°F, 8a near 10°F, and 8b near 15°F. Two gardeners in the same 'zone 6' can be 5°F apart, which is the difference between one wrap and two.
A Zone-Based Insulation Ladder
Use this as a starting point, then adjust for pot material and exposure:
- Zones 9-11: Insulation is mainly a summer-heat and sun-exposure tool. A light reflective wrap or shade cloth on the pot wall is usually enough; winter protection is rarely needed except for tropicals.
- Zones 7-8: One layer of bubble wrap or a thin foam liner plus 2 inches of mulch handles most hardy container plants. Move pots against a south- or east-facing wall for radiant heat.
- Zones 5-6: Two layers, an inner foam or bubble liner plus an outer burlap wrap, and 3 inches of mulch. Bury the pot or cluster pots together and bank mulch around the group.
Adjust the Ladder for Pot Material
The zone number assumes an average pot. Thin terracotta and metal walls lose heat fast, so treat them as one half-zone colder than the map says. Thick plastic, resin, and wood walls hold temperature better and can be treated as one half-zone warmer. A 12-inch pot chills faster than a 24-inch pot because it holds less soil mass, so downsize your expectations, or upsize your insulation, for small containers.
Timing: Anchor to Frost Dates, Not the Calendar
Start insulating about two to three weeks before your average first fall frost date, which the National Weather Service and most cooperative extension offices publish for your county. The goal is to have the root zone protected before the first hard freeze (28°F or below for several hours), not before the first light frost. Insulating too early traps summer heat and moisture; insulating after the soil has already frozen locks in cold. A seasonal prep guide lays out the timing for fall and winter planters.
On the spring side, remove heavy wraps once nighttime lows stay reliably above freezing, but keep mulch in place until the last average frost date. Watch out: pulling winter wraps during a warm spell in late winter can expose roots to a hard freeze that follows within days.
Cluster and Microclimate Adjustments
Zone maps describe open-field conditions. A pot on a windy rooftop or an exposed balcony runs colder than the map suggests, while a pot against a masonry wall or in a sheltered courtyard runs warmer.
The article ties the amount of insulation to your hardiness zone, with each zone range matched to a specific set of layers.
| Zone range | Recommended insulation | Mulch depth |
|---|---|---|
| Zones 9-11 | Light reflective wrap or shade cloth | Not specified |
| Zones 7-8 | One layer of bubble wrap or thin foam liner | 2 inches |
| Zones 5-6 | Inner foam or bubble liner plus outer burlap | 3 inches |
| Zones 3-4 | Full wrapping plus burying or heated garage | Not specified |
Start Insulating Your Planters This Season
Insulating outdoor planters yourself is practical and affordable. Start with a foam or bubble liner, add an outer wrap, and mulch the soil surface before the cold arrives.
Explore our full range of planters and saucers to find the right fit for your garden.
Frequently Asked Questions
How do you insulate outdoor planters for winter?
Start by lining the inside of the planter with a layer of foam board or bubble wrap, which slows heat loss from the soil. Then wrap the exterior with burlap or a frost blanket, leaving drainage holes open so excess water can escape. Group pots together against a sheltered wall when possible, and add a thick layer of mulch over the soil surface. Insulate before the first hard freeze, not after, because roots are damaged as soon as the soil itself freezes solid. Check moisture monthly during winter, since insulated soil stays wetter and can rot roots if drainage is blocked.
Can I put styrofoam in the bottom of my planters?
Yes, but use it carefully. Polystyrene foam provides good thermal insulation and is lightweight, which helps with large containers. However, it must not block drainage holes, and it should sit beneath a permeable barrier so soil does not wash into the foam gaps. Rigid foam board cut to fit the base usually performs better than loose foam packing peanuts, which can shift and let water pool. Foam is not a long-term solution for decorative pots, so replace it when it crumbles or stays waterlogged.
What should planter boxes be lined with?
Breathable liners such as landscape fabric or burlap allow water to drain while keeping soil in place. For insulation, rigid foam board or bubble wrap adds a thermal barrier without holding excess moisture against the roots. Avoid plastic sheeting with no drainage, because trapped water promotes root rot. Choose liner materials based on whether your main concern is winter cold, summer heat, or soil retention, since each calls for a different thickness and placement.
Is bubble wrap effective for insulating potted plants?
Bubble wrap is effective for small to medium pots because the trapped air pockets slow heat transfer. Wrap the outside of the container in two or three layers, securing it with tape or twine and keeping the drainage holes uncovered. It works well for short cold snaps but breaks down in direct sun and wind over a long winter. For extended freezing, combine bubble wrap with burlap or a foam liner for more durable protection.