 how-to
Can You Build a DIY Irrigation System for Containers?
Last Updated: October 29, 2026
Quick Summary
A DIY container irrigation system can be built with recycled bottles, wicks, clay ollas, or a timed drip line. The right choice depends on how many pots you have, how long you will be away, and what you grow. Small herb pots suit bottle drippers, while five or more mixed containers suit a timed drip line.
- Bottle drippers cost $0-$3 per pot and cover two to four days away.
- Wick systems cover three to seven days and suit basil, parsley, and ferns.
- Ollas suit tomatoes and peppers in 12-20 inch pots and cover five to ten days.
- Timed drip kits cost $30-$120 and scale to five or more pots.
- Install a pressure regulator before leaving so emitters do not overwater or push water too fast.
Table of Contents
- Why Container Plants Need a Dedicated Watering System
- Choosing the Right DIY Container Irrigation System
- DIY Drip Irrigation for Potted Plants: Materials and Setup
- Plastic Bottle Drip Irrigation: A Low-Cost Option
- Calibrating Flow Rate and Troubleshooting Clogs
- Setting a Watering Schedule for Container Plants
- Keeping Potted Plants Watered While You Are on Vacation
- Setting Up Your First Container Irrigation Run This Weekend
- Frequently Asked Questions
Why Container Plants Need a Dedicated Watering System
Container plants dry out faster than plants in the ground. A pot has limited soil, exposed sides, and no deep reserve of moisture.
Here is the core problem. Hand-watering is inconsistent. You water heavily one day, forget the next, and your plants swing between soggy and parched.
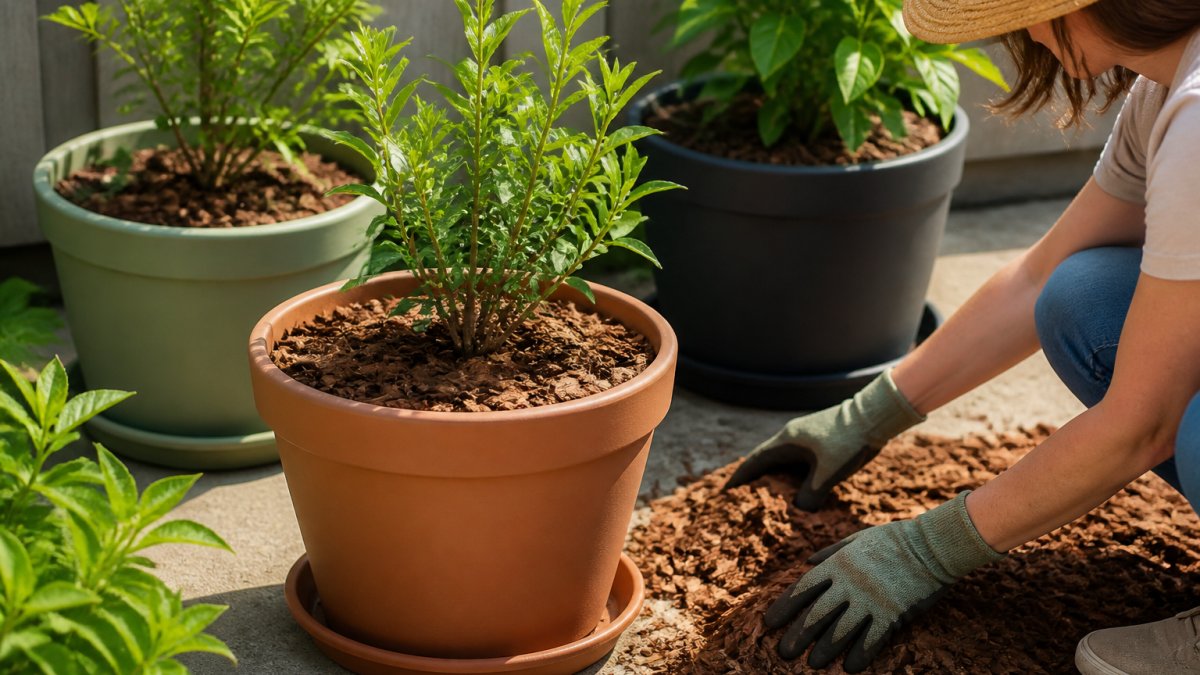
Planters paired with saucers help catch runoff so excess water is less likely to stain your deck or patio.
Container plants usually need:
- Frequent, light watering during hot weather
- Even moisture so roots do not stress
- Drainage so water does not pool and cause root rot
A simple irrigation setup handles all four.
Choosing the Right DIY Container Irrigation System
Not every method fits every setup. A guide to self-watering containers for vegetables walks through another option worth comparing. The right pick depends on four things: how many containers you have, how long you will be away, what you are growing, and how much you want to spend. Use this decision guide instead of guessing.
Compare the Four Main DIY Methods
| Method | Typical Materials Cost (USD) | Best Container Size | Best For | Time Away It Covers |
|---|---|---|---|---|
| Bottle dripper (recycled 1-2 L bottle) | $0-$3 per pot | 6-12 in pots | Herbs, lettuce, single small plants | 2-4 days |
| Wick system (cotton or nylon wick from a reservoir) | $5-$15 total | 6-14 in pots | Consistent-moisture lovers like basil, parsley, ferns | 3-7 days |
| Olla (unglazed clay pot buried in soil) | $15-$40 per olla | 12-20 in pots or raised beds | Tomatoes, peppers, squash; in-ground-style containers | 5-10 days |
| Tubing-based drip on a timer | $30-$120 for a starter kit | Any size; scales to 5+ pots | Mixed container gardens, balconies, patios | 1-3 weeks with a reliable faucet |
Prices reflect common retail ranges for consumer-grade components at garden centers and online retailers; kit prices climb with the number of emitters and whether a timer is included.
Match the Method to Your Situation
- One to four small pots, weekend trips: A bottle dripper is the cheapest option and takes about five minutes per pot to set up. It will not carry a tomato through a heat wave, but it keeps herbs and lettuce alive.
- A row of herbs or greens that must stay evenly moist: A wick system pulls water from a reservoir by capillary action and avoids the wet-dry swing that stresses shallow-rooted plants. It is more consistent than a bottle and needs no timer.
- Thirsty fruiting plants in large containers: An olla releases water through the clay wall as the surrounding soil dries, which matches the heavy, deep water demand of tomatoes and peppers better than surface drip.
Budget and Effort Trade-offs
A bottle system costs almost nothing but requires refilling and gives you no control over flow beyond hole size. A wick system is still inexpensive but needs a reservoir that sits below the pot, which limits where you can place it. Ollas cost more up front and are heavy to move, but they need no timer, no electricity, and no faucet.
DIY Drip Irrigation for Potted Plants: Materials and Setup
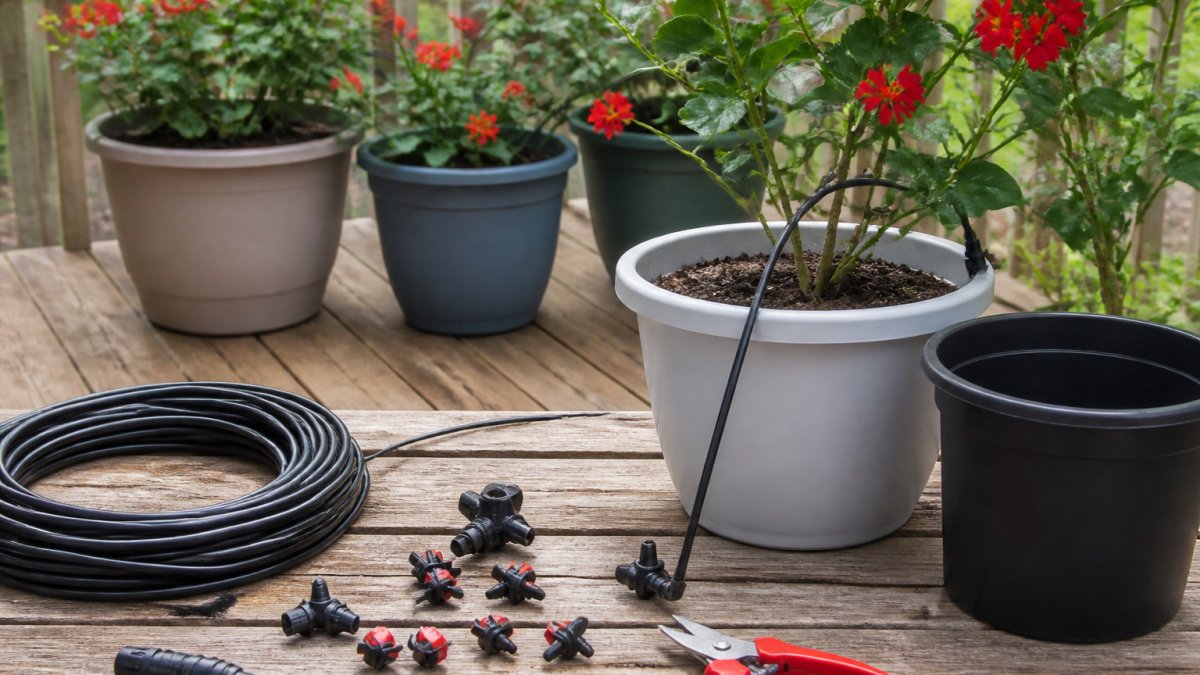
A basic drip system needs a water source, tubing, emitters, a pressure regulator, and a timer. You can buy these as a kit or assemble them separately.
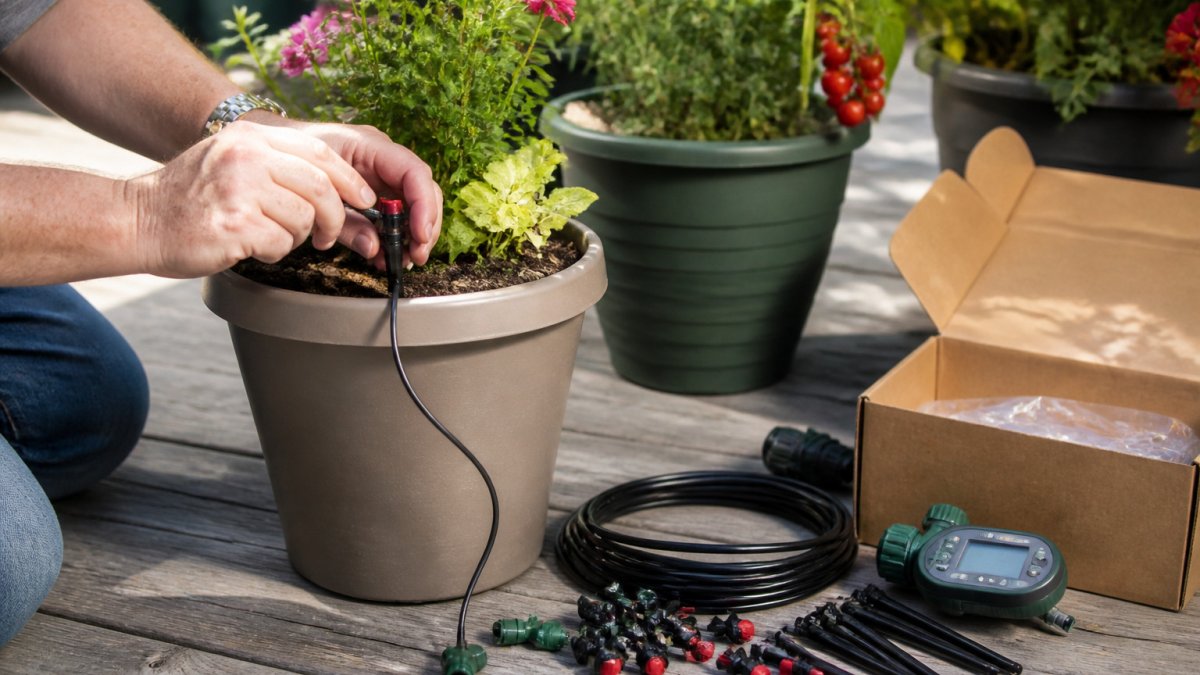
Start with your drip pan. The SAP with saucer is a good match for this step, since its saucer collects excess water drainage and soil spillage from pots.

Next, lay out your tubing along the containers. Cut tubing with a sharp knife and connect fittings firmly. Then attach emitters at each pot.
Positioning Emitters Near the Roots
Place each emitter close to the root ball, not on the soil surface far from the stem. Push the emitter stake about 1 to 2 inches into the soil. Water placed directly at the root zone soaks in and reaches the roots instead of evaporating from the surface.
For larger pots, use two emitters on opposite sides. This spreads moisture across the root area.
Connecting a Water Source, Timer and Pressure Regulator
Connect your system in this order:
- Attach a pressure regulator to your outdoor faucet
- Connect the timer to the regulator
- Run the main supply line to your containers
- Branch the tubing to each emitter
Set the timer for short, frequent cycles during hot weather. Many gardeners start with 5 to 10 minutes per day and adjust from there based on how the soil feels.
Plastic Bottle Drip Irrigation: A Low-Cost Option
A plastic bottle drip system is one of the cheapest ways to water a few containers.
Here is how to make one:
- Use a clean 1- to 2-liter bottle
- Poke one or two small holes in the cap with a nail or small drill bit
- Fill the bottle and screw the cap on
A common mistake is making the holes too large. Large holes release water in a rush, and the soil cannot absorb it fast enough.
Bottle systems work best as a backup or for short absences. They hold only a small amount of water, so they do not replace a full drip line for daily watering.
Calibrating Flow Rate and Troubleshooting Clogs
Flow rate is the speed at which water leaves each emitter. Too fast and water runs off the surface. Too slow and plants stay thirsty.
To check flow rate, place a measuring cup under an emitter and run the system for one minute.
Common problems and fixes:
- Uneven watering: Check for kinks in the tubing and confirm all emitters are the same type
- Clogged emitters: Remove the emitter and rinse it under running water
- Low pressure at the end of the line: Shorten the run or add a branch closer to the source
Clean your filter and check connections at the start of each season. Small debris is the most common cause of sudden trouble.
Setting a Watering Schedule for Container Plants
A schedule copied from a blog will fail in your garden because container watering depends on more variables than in-ground watering. The pot material, the plant, the weather, and where the pot sits all change how fast water leaves the soil. Build your schedule around those factors instead of a fixed calendar.
Start With Container Material and Size
- Unglazed terra cotta: Porous walls wick moisture to the surface, so these pots dry fastest. Expect to water more often than the same size in plastic.
- Plastic and resin: Non-porous and hold moisture longer. A plastic pot may go two days longer between waterings than a terra cotta pot of the same size.
- Fabric grow bags: Air moves through the walls, so they dry quickly and unevenly. They often need daily attention in summer.
Adjust for Sun, Wind, and Heat
A pot in full afternoon sun dries far faster than one in morning sun or partial shade. Wind pulls moisture from leaves and soil alike, so a breezy balcony dries faster than a sheltered patio. During a heat wave, small pots may need water twice a day; during a cool, cloudy stretch, every third day may be enough. Rather than following a fixed number, check the soil at the same time each day and let what you feel drive the schedule.
Match the Schedule to the Plant
- Thirsty fruiting plants (tomatoes, peppers, squash): Keep soil consistently moist; uneven watering contributes to blossom-end rot in tomatoes. These are the plants most worth putting on a drip line or olla.
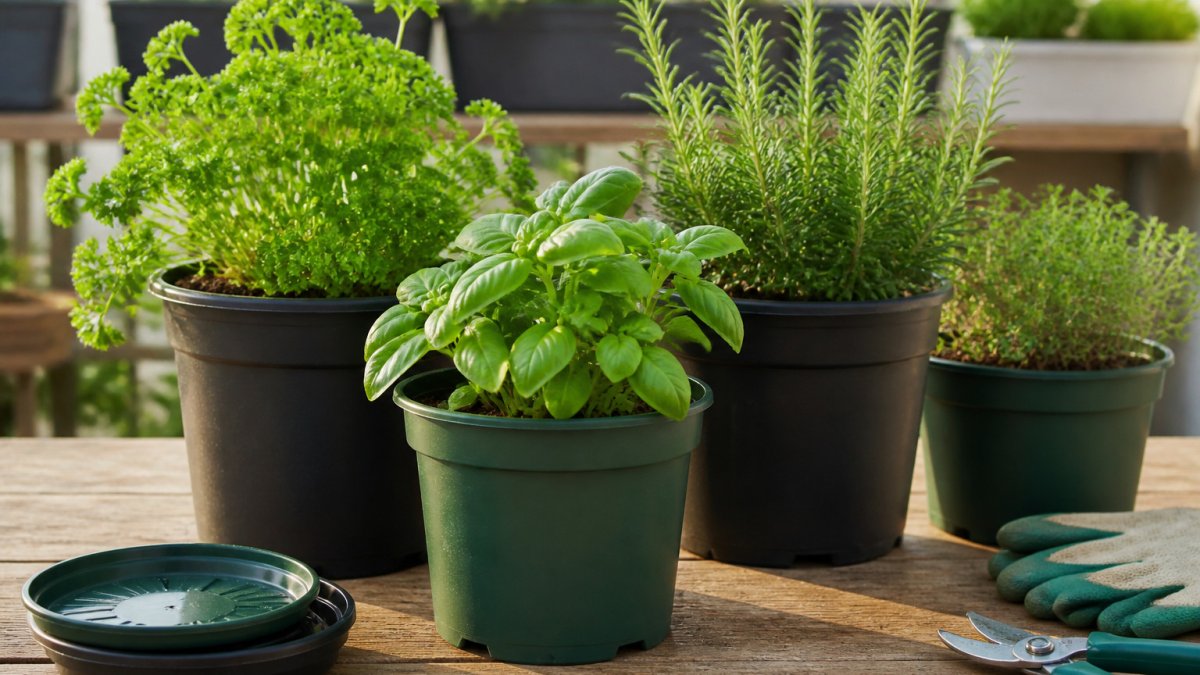
- Herbs (basil, parsley, mint): Prefer even moisture but suffer in soggy soil. A wick system suits them well.
- Succulents and rosemary: Need the soil to dry between waterings. A drip system on the same schedule as your tomatoes will rot them, so keep them on a separate line or water by hand.
A Practical Starting Point
Use this as a baseline, then adjust based on what the soil tells you:
- Hot summer days, full sun, small or terra cotta pots: Check daily, water once or twice as needed.
- Hot summer days, large plastic pots, partial shade: Check every one to two days.
- Mild spring or fall: Check every two to three days.
Test the soil with your finger before each watering. If the top inch feels dry, water. If it feels damp, wait. Adjust run times as plants grow, because larger plants drink more and need longer cycles.
Keeping Potted Plants Watered While You Are on Vacation
A timer-based drip system covers most vacations. Set it for the days you are gone, and confirm the reservoir or water supply will last the full trip.
For bottle systems, fill each bottle completely before you go. Most small bottles last only a few days, so they work best for weekend trips.
Ask a neighbor to check the system midway through a long trip.
Setting Up Your First Container Irrigation Run This Weekend
Start small. Pick three to five containers and build a single drip line. Test it for a few days before you expand.
Your weekend checklist:
- Count your containers and note their sizes
- Buy a kit or gather tubing, emitters, a regulator, and a timer
- Place saucers or drip pans under each container
Once the system runs smoothly, add more containers as your garden grows. The Sample Pack 12-Piece Flower Pot and Saucer Set comes in graduated sizes from 2 to 12 inches, which can be handy when you need matching pots for a new run.

With a simple setup and a little calibration, your container garden can stay watered without daily effort.
Frequently Asked Questions
How do you make a DIY irrigation system for container plants?
Start with a water source, a timer, a pressure regulator and a line of small-diameter drip tubing. Run the tubing along the pots, then attach a drip emitter at each plant's root zone. Flush the lines before connecting emitters so debris does not clog them. Test the system with a single pot first, measuring how much water each emitter delivers in a set time, and adjust from there before you scale up to the full set of containers.
Can a plastic bottle water plants automatically?
A plastic bottle can water a plant slowly if you poke or drill a small hole in the cap, fill the bottle, and invert it into the soil. The water drains gradually as the soil dries. It works best for short absences and small pots. Bottle systems deliver less water than a drip kit and have no built-in timer, so check soil moisture regularly and refill bottles as needed.
How often should container plants be watered with drip irrigation?
Frequency depends on pot size, plant type, weather and emitter flow rate. Smaller pots and summer heat usually call for daily or twice-daily runs, while larger containers may need watering every two or three days. Check the top two inches of potting mix before adjusting. Increase runtime when plants wilt in the afternoon, and reduce it when the soil stays damp for more than a day.
Are self-watering pots better than drip irrigation for container gardens?
Self-watering pots are simpler to set up and work well for a few plants on a patio. Drip irrigation scales better across many containers, lets you control exactly how much water each plant gets, and can be run on a timer. For a balcony with several pots, a drip system usually offers more control, while a single herb planter may do fine with a self-watering reservoir.