 how-to
7 Steps to Paint Plastic Garden Planters That Last
Last Updated: November 11, 2026
Quick Summary
To paint plastic planters that last, first identify the plastic, wash and scuff the surface, apply a bonding primer, then add two to three thin coats of paint designed for plastic. Allow the final coat to cure fully before handling, since curing takes longer than drying. Preparation, not the paint itself, decides how long the finish holds up.
- Most painted plastic planters fail from poor adhesion, so preparation matters most.
- Scuff the entire outer surface with fine-grit sandpaper, around 220 grit, to a dull, even haze.
- Apply one light coat of bonding primer labeled for plastic before painting.
- Use two to three light coats of paint, letting each dry before the next.
- Test a clear sealer on a hidden area first to check for wrinkling before sealing the whole pot.
Table of Contents
- Why Painted Plastic Planters Peel and How to Prevent It
- Materials and Tools You Need to Paint Plastic Planters
- How to Prep Plastic for Spray Paint
- Choosing the Best Spray Paint for Plastic Planters
- Priming and Applying Paint Step by Step
- Sealing for Waterproof Paint on Plastic Pots
- Finishing Touches to Make Plastic Pots Look Expensive
- Choosing Your Next Planter Set From Beloit Plastics
- Frequently Asked Questions
Painted plastic planters rarely fail because of the paint. They fail because the surface was never ready to hold it, and learning how to paint plastic planters the right way starts with that preparation. If you want to know how to paint plastic garden planters that last, the answer starts before you open a can of spray paint, and it's the step most DIY tutorials skip.
Why Painted Plastic Planters Peel and How to Prevent It
Most paint failure comes down to adhesion, and adhesion depends heavily on which plastic the planter is made from. Learn why cheap plastic planters fail before you choose a base to paint. Most garden pots are molded from one of three resins, and each one responds differently to paint.
Polypropylene (PP) is a common material for planters and saucers. It has a low surface energy, which means liquid paint beads up and grips poorly unless the surface is abraded and primed.
High-density polyethylene (HDPE) behaves similarly. It is waxy and slick, and it is often used for rigid, thicker-walled pots. HDPE tends to accept paint only after aggressive scuffing and a bonding primer. Solvent-based products can soften its surface slightly, which sometimes helps adhesion but can also cause wrinkling if applied too heavily.
Polyvinyl chloride (PVC) is less common in planters but appears in some decorative and rigid containers. PVC is more receptive to solvent-based primers and paints, but it can release plasticizers over time, which may cause the paint film to lift or discolor. Check the molding marks or product listing before choosing a paint system.
Solvent-based paints can bite into some plastics and cause crazing or wrinkling, while water-based acrylic primers form a mechanical bond on a properly scuffed surface. A common pattern among DIY painters is to test a small, hidden area first and wait a full day before committing to the whole pot.
Prevention means three things: clean the surface, use a bonding primer, and choose a paint built for plastic. Each step addresses a different cause of failure, and skipping one usually shows up as peeling along the rim or base first.
Materials and Tools You Need to Paint Plastic Planters
Gather everything before you start. Stopping mid-job to hunt for a sandpaper grit usually means a dusty, uneven coat.
- Fine-grit sandpaper (around 220 grit)
- Degreaser or dish soap and warm water
- Tack cloth or lint-free rag
- Bonding primer labeled for plastic
- Spray paint formulated for plastic
- Clear sealer (polyurethane or a UV-protective topcoat)
- Drop cloth and painter's tape
- Respirator and gloves, with good ventilation
How to Prep Plastic for Spray Paint
Preparation decides how long the finish lasts. Work through these steps in order.
- Wash the planter with degreaser or dish soap and warm water. Rinse and let it dry fully.
- Scuff the entire outer surface with fine-grit sandpaper. You want a dull, even haze, not deep gouges.
- Wipe away dust with a tack cloth.
- Tape off drainage holes or areas you want to keep unpainted.
Skip any of these and adhesion suffers. The scuffing step is the one people shortcut most, and it matters most.
Choosing the Best Spray Paint for Plastic Planters
Not every spray paint bonds to plastic. Look for labels that say "for plastic" or "plastic adhesion," and check that the formula is acrylic or a flexible enamel rather than a brittle lacquer that cracks when the pot flexes.
Flexibility matters because planters expand and contract with temperature. Rigid finishes crack along the flex lines first. For a sealed pot left outdoors, see whether plastic planters crack in winter.
Color choice matters too. Lighter colors show fading sooner in direct sun, so consider a UV-resistant topcoat if the planter will sit in full afternoon light.
Priming and Applying Paint Step by Step
Here is the process we recommend. It takes longer than a single coat, but it holds up.
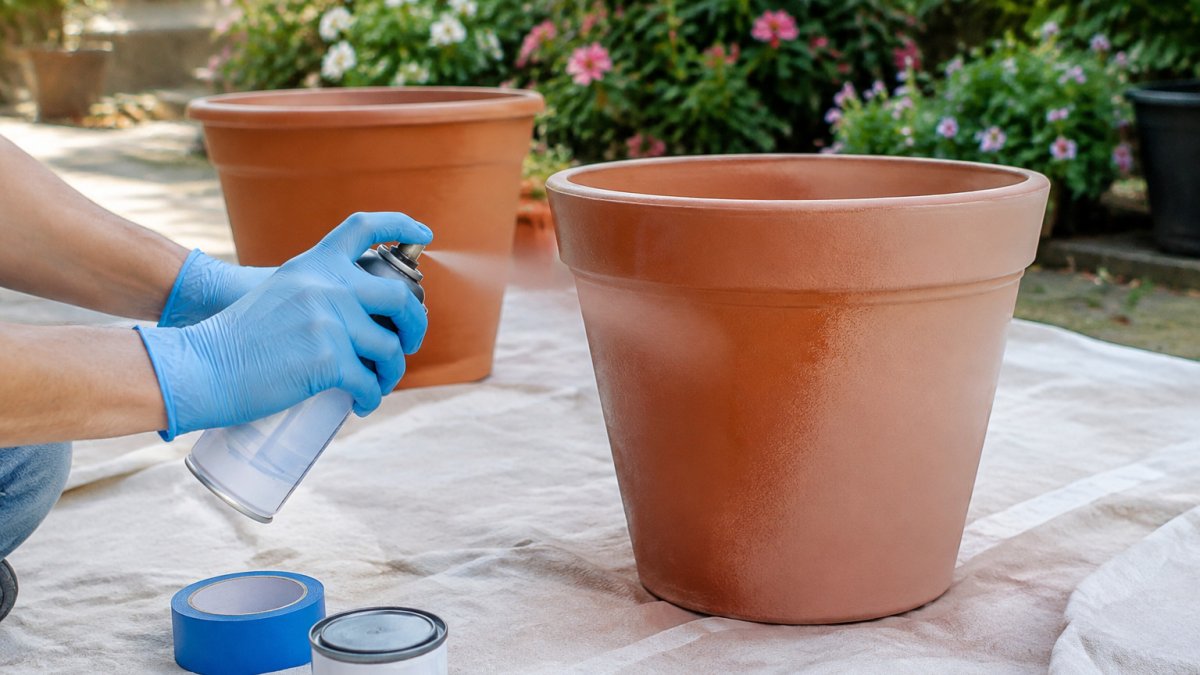
- Apply one light coat of bonding primer. Keep the can 10 to 12 inches away and move steadily.
- Let the primer dry according to the can, then check that it's tacky, not wet.
- Apply two to three light coats of paint, letting each dry before the next. Heavy coats cause drips and trap solvent.
- Allow the final coat to cure fully before handling. Curing takes longer than drying, often several days.
Thin coats beat thick ones every time. Two light passes look smoother and bond better than one heavy pass.
The steps below summarise the painting process the article recommends, with the timing it gives for each stage.
| Step | What to do | Time or frequency |
|---|---|---|
| Apply primer | One light coat of bonding primer, 10 to 12 inches away | Dry until tacky, not wet |
| Apply paint | Two to three light coats | Let each coat dry before the next |
| Final coat | Allow to cure fully before handling | Several days |
Sealing for Waterproof Paint on Plastic Pots
A clear sealer can add a protective layer over paint, but only if it is chemically compatible with the paint beneath it.
Select a clear, outdoor-rated sealer labeled for use over acrylic or enamel paints on plastic. If the pot will hold edibles, first confirm whether plastic pots are safe for growing herbs. Acrylic sealers are generally easier to work with and stay flexible as the planter expands and contracts. Polyurethane topcoats offer harder, more abrasion-resistant films, though they can yellow over time and can be more brittle on a flexing pot. A UV-protective clear topcoat is worth considering if the planter sits in full afternoon sun, since UV exposure is the main cause of chalking and color shift in exterior paint.
Before sealing the whole piece, test a small area. Apply a thin coat to a hidden spot, let it cure for the time listed on the can, and check for wrinkling, tackiness, or clouding. A sealer that reacts with the paint will wrinkle the finish, and that damage is difficult to undo without stripping the surface.
Apply one or two thin coats, not one heavy coat. Thick films trap solvent, stay soft longer, and are more likely to show orange peel or runs. Allow each coat to dry fully according to the label, which is often longer than you expect in cool or humid weather.
Durability depends on conditions, and sealing does not make paint permanent. Expect to inspect painted planters once or twice a year and touch up any chips before moisture reaches bare plastic.
Sealing also protects the finish from scuffs when you move the pot, which matters for planters that are repositioned often.
Finishing Touches to Make Plastic Pots Look Expensive
Small details separate a homemade look from a polished one. Consider these options:
- Use a matte or satin finish to mimic terracotta or stone
- Add a light dry-brush of contrasting color to highlight the rim
- Match saucers to pots for a coordinated set
- Lightly rub the finished surface with a soft cloth to even out sheen
Plastic planters also look better with coordinated saucers. Austin Planter saucers come in sizes from 3 to 21 inches, so you can match each pot to the right base.
Choosing Your Next Planter Set From Beloit Plastics
If painting isn't your favorite project, you can skip it entirely. Browse durable polypropylene planters with saucers ready to use without any prep. The Austin Planter 4 inch Flower Pots with Saucers come in a five-pack and are made from recycled polypropylene in Beloit, Wisconsin. The Austin Planter Plastic Flower Pots with Saucers, 4 inch, Terra Cotta 5 Pack, and Lime Green 5 Pack give you finished color straight out of the box.
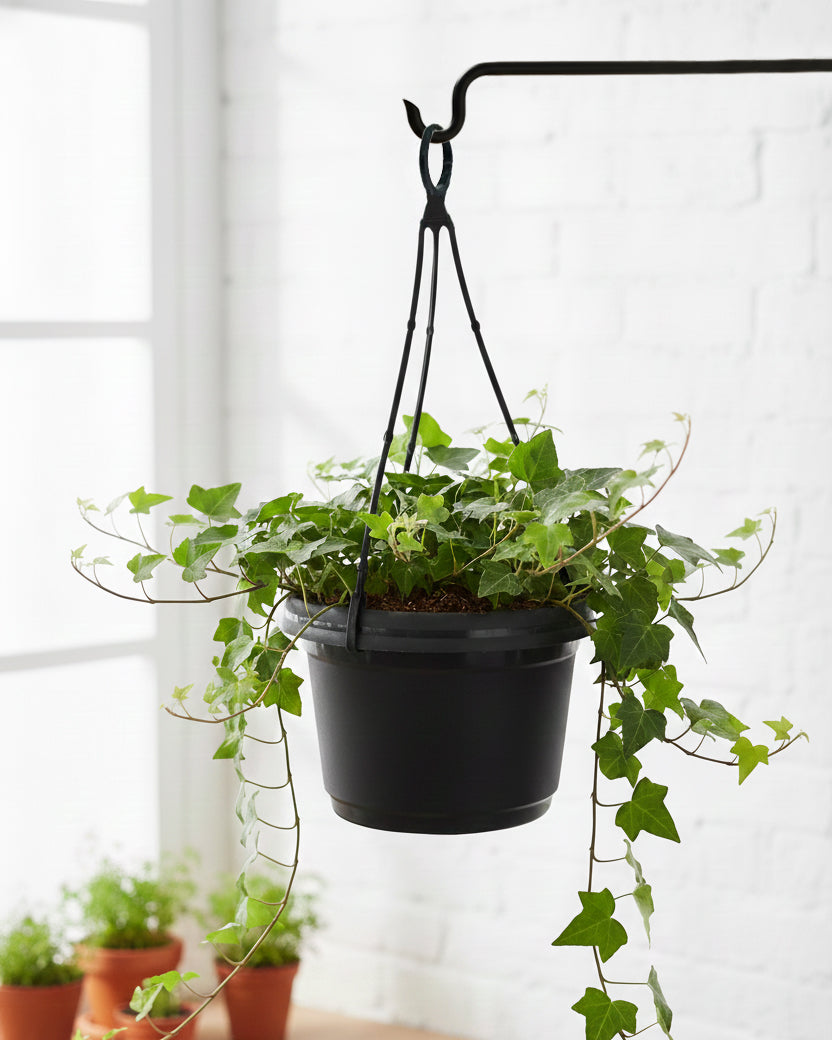
For a bigger project, the Austin Planter Polypropylene Flower Pot with Saucer is built for indoor and outdoor use. Browse the full line to find the right pot and saucer for your space.
Ready to skip the prep work? Shop Beloit Plastics LLC planters and saucers built for everyday outdoor use.
Frequently Asked Questions
What kind of paint do you use on plastic planters?
Use a spray paint labeled for plastic, or an acrylic paint formulated for plastic surfaces. Standard wall paint tends to flake off polypropylene because the surface is smooth and does not bond well. A plastic adhesion promoter or bonding primer applied first gives the topcoat something to grip. Choose a paint rated for outdoor use if the planter will sit in sun and rain, since UV-resistant formulas hold color longer and resist chalking.
Do I need to prime plastic planters before painting?
Yes, in most cases. Plastic is non-porous, so paint has little to bond to without help. Apply a thin coat of bonding primer or plastic adhesion promoter, let it dry fully, then add the color coats. Skipping primer is the most common reason paint peels off planters within a single season. Light coats of primer work better than one heavy coat, which can sag and trap solvent.
How do I prevent paint from peeling off plastic pots?
Clean the surface with a degreaser to remove mold release agents and oils, then scuff it lightly with fine-grit sandpaper. Apply a bonding primer, use thin coats of paint, and allow adequate curing time before exposing the planter to water or sun. Sealing the finished piece with a clear outdoor sealer adds protection. Keep the planter out of direct freezing conditions until the coating has fully cured.
How long should I let a painted plastic planter dry before using it?
Most spray paints feel dry to the touch within an hour, but full curing usually takes 24 to 72 hours depending on temperature, humidity and paint type. Check the label for the recommended cure time. Wait longer before planting soil or watering, because moisture can soften a coating that has not hardened. Light coats dry and cure faster than thick ones.