 listicle
5 Ways to Improve Container Plant Growth
Table of Contents
- 1. Choose the Right Container Size and Drainage
- 2. Select Quality Potting Mix for Container Plants
- 3. Master Container Plant Watering Techniques
- 4. Fertilize Container Plants on a Consistent Schedule
- 5. Provide Adequate Sunlight and Air Circulation
- Common Container Growth Problems and How to Fix Them
- Frequently Asked Questions
Last Updated: October 21, 2026
1. Choose the Right Container Size and Drainage
The most overlooked factor in container plant growth is drainage. A pot that's too large holds excess water around the roots. A pot that's too small restricts growth and dries out too fast.
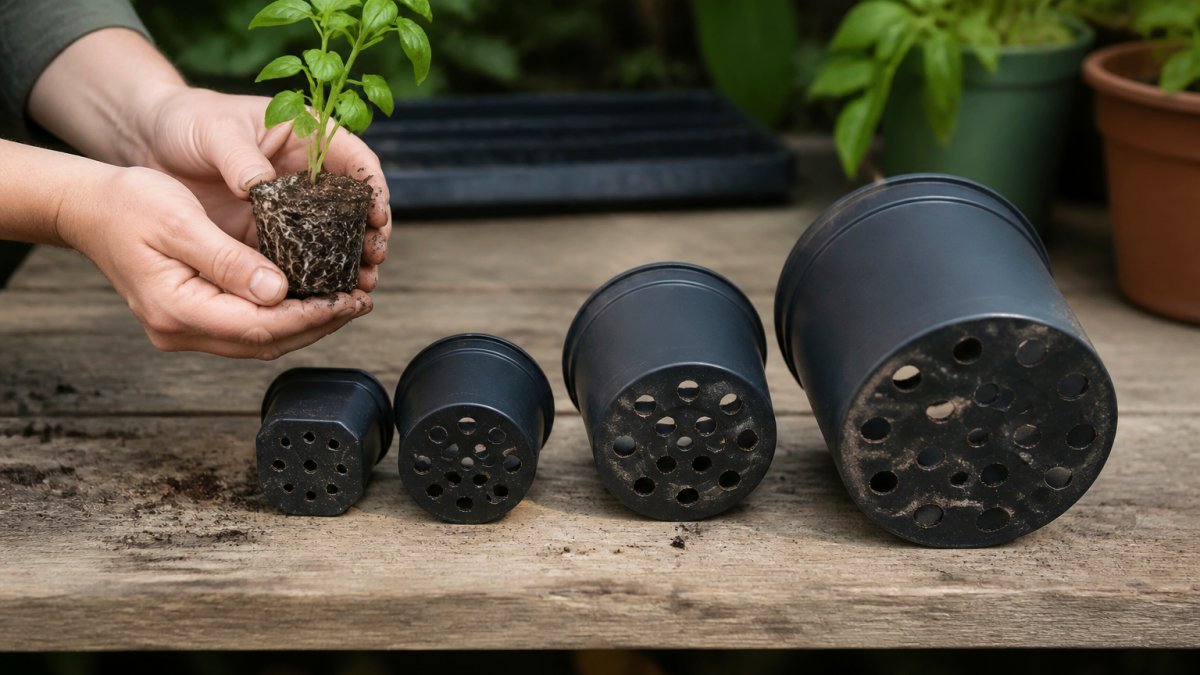
Drainage holes are non-negotiable. Without them, water pools at the root zone and causes root rot within weeks. Look for pots with multiple drainage holes, not just one.
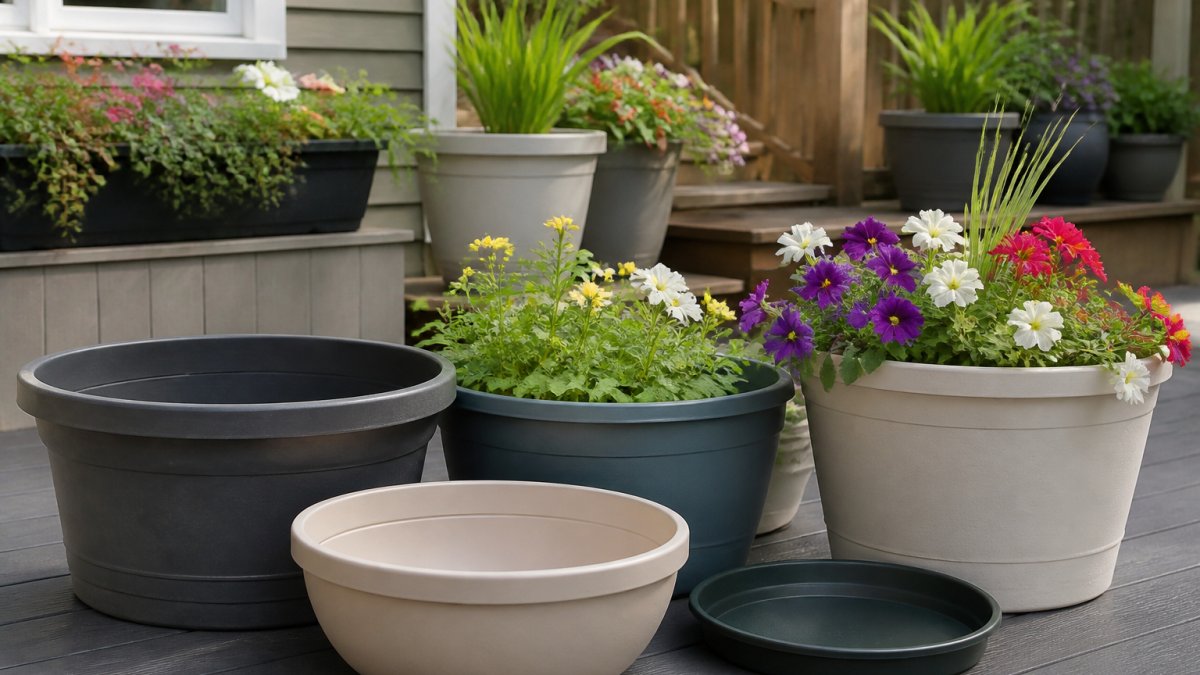
Beloit Plastics LLC offers planters with built-in drainage holes and matching saucers designed to prevent water damage.

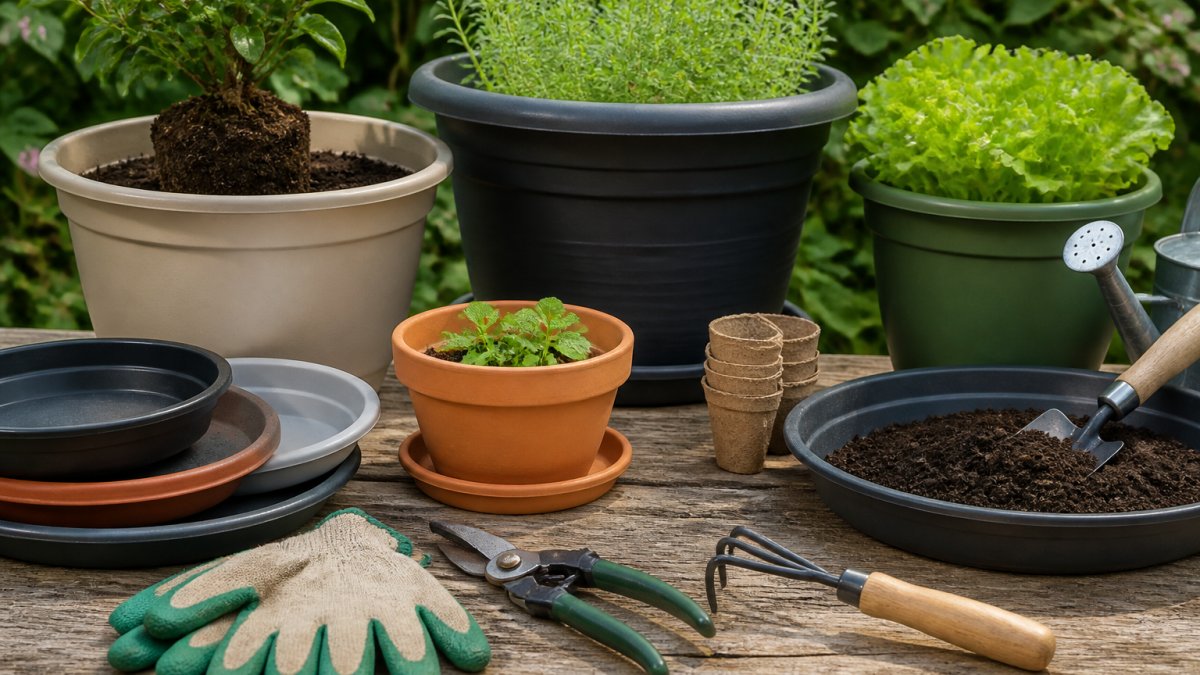
For container plant growth, the saucer matters as much as the pot itself. A quality saucer collects excess drainage and provides a small water reservoir that roots can access during dry periods.
2. Select Quality Potting Mix for Container Plants
Standard garden soil is too dense for containers. It compacts, restricts drainage, and eventually becomes hard as concrete. Potting mix is specifically engineered to stay light and airy, allowing water to drain while retaining enough moisture for roots to access.
What a Good Mix Actually Contains
A quality potting mix is a blend, not a single ingredient. The typical recipe is roughly 50-60% peat moss or coco coir for moisture retention, 20-30% perlite or vermiculite for drainage and aeration, and 10-20% compost or bark for nutrients and structure. Cheap mixes skimp on perlite, which means water moves slowly through the soil and roots stay too wet. Pick up a handful: a good mix feels light, crumbles easily, and shows visible white perlite flecks throughout.
Match the Mix to the Plant
This is where most generic guides stop, and it's where container growth is actually won or lost. The same bag will not serve every plant:
- Vegetables and flowering annuals (tomatoes, peppers, petunias) are heavy feeders with fast root growth. Use a mix with compost and a slow-release fertilizer blended in, and expect to supplement within 4-6 weeks.
- Herbs (basil, rosemary, thyme) prefer a leaner, faster-draining mix. Too much compost or fertilizer produces lush, flavorless foliage; rosemary and thyme in particular want extra perlite and a drier root zone.
- Succulents and cacti need a gritty mix, often 50% or more perlite, pumice, or coarse sand, because their roots rot quickly in moisture-retentive soil.
- Foliage houseplants (pothos, philodendron, ficus) do well in a standard all-purpose mix, but adding a scoop of perlite per pot improves airflow for plants that stay indoors year-round.
The 4-6 Week Test
The difference between a cheap potting mix and a quality one becomes obvious after 4-6 weeks. Poor mixes compact and settle, leaving gaps between the soil and the pot wall. Water then runs straight down the sides without wetting the soil, a phenomenon growers call channeling. Your plant looks dry even though you're watering regularly. If you tilt the pot and the soil block slides out in one firm mass, the mix has lost its structure.
Refresh, Don't Always Repot
Replenish your potting mix each year. Over time, organic matter breaks down, nutrients leach out, and the mix loses its structure. Replacing the top 2-3 inches of soil in spring gives established plants a nutrient boost without the full repotting process. For fast-growing annuals, a full refresh every season is worth the effort; for slow-growing houseplants, top-dressing is usually enough.
3. Master Container Plant Watering Techniques
Watering is where most container gardeners fail. The instinct to water daily is usually wrong. Container plants need consistent moisture, not constant wetness.
Check soil moisture before watering. Push your finger into the soil about an inch deep. If it feels dry, water. If it's still moist, wait. This simple test prevents both overwatering and underwatering.
Water until it drains from the bottom. This ensures the entire root zone gets wet, not just the surface. Stop when water flows from the drainage holes, you've reached saturation. The saucer will catch this runoff and hold it as a reserve.
Frequency depends on your climate, pot size, and plant type. A small pot in summer heat may need daily watering. A large pot in cool spring weather might need water every 3-4 days. There's no universal schedule, observation is your best tool.
Morning watering is better than evening. It gives plants all day to absorb moisture and reduces fungal issues. Evening watering leaves soil wet overnight, which invites disease.
4. Fertilize Container Plants on a Consistent Schedule
Container plants exhaust their potting mix's nutrients quickly. Unlike garden soil, which has a large reserve of organic matter and minerals, container soil is a finite resource. Once nutrients are depleted, plants stop growing, and because the roots can't reach anything beyond the pot, they have no way to recover on their own.
Two Feeding Approaches, Pick One and Stick to It
There are two common ways to feed container plants, and mixing them without tracking is how gardeners end up over-fertilizing:
- Slow-release granules blended into the potting mix at planting feed for roughly 2-3 months. They're forgiving and a good fit for busy gardeners, but you can't dial the dose up mid-season if a plant starts to struggle.
- Water-soluble fertilizer mixed into your watering can gives you immediate control. A balanced formula (often labeled 10-10-10 or 20-20-20) diluted to half the label strength is the standard starting point. Half-strength, applied more often, reduces the risk of salt buildup that burns roots.
Start fertilizing 4-6 weeks after planting. By then, the plant has established roots and can use supplemental nutrients. If you used a slow-release mix, that timeline aligns with when the granules begin to taper off.
A Measurable Schedule, Not a Guess
Frequency depends on the plant and the season, but these are reliable starting points during active growth:
- Heavy feeders, tomatoes, peppers, flowering annuals, every 1-2 weeks at half strength.
- Moderate feeders, most foliage houseplants and leafy greens, every 2-3 weeks.
- Light feeders, succulents, cacti, and slow-growing herbs like rosemary and thyme, once a month or less.
Stop fertilizing in late fall and winter when growth naturally slows. Adding nutrients when the plant isn't actively growing just accumulates salts in the soil, which damages roots. Resume feeding in spring when new growth appears.
Read the Leaves: A Symptom-to-Cause Guide
Fertilizer problems show up in the foliage long before they kill a plant. Match the symptom to the likely cause:
- Pale, uniformly yellow lower leaves and slow growth, likely nitrogen deficiency. Increase feeding frequency or repot into fresh mix.
- Brown, crispy leaf edges, salt buildup from over-fertilizing or hard water. Flush the pot thoroughly with plain water until it runs freely from the drainage holes, then reduce fertilizer frequency.
- Yellowing between green veins (interveinal chlorosis), often an iron or magnesium shortage, common in high-pH potting mixes. A chelated micronutrient supplement usually corrects it.
- White crust on the soil surface or pot rim, visible salt accumulation. Scrape off the top inch of soil, flush the pot, and cut back on feeding.
- Lush, dark green leaves but no flowers or fruit, too much nitrogen. Switch to a formula higher in phosphorus and potassium for blooming and fruiting plants.
5. Provide Adequate Sunlight and Air Circulation
Most container plant problems trace back to insufficient light. Plants need light to photosynthesize and grow strong. In low light, they become leggy, pale, and weak.
LAP 12 inch flower pot and saucer 5 pack →

Know your plant's light requirement. Herbs like basil and rosemary need 6+ hours of direct sun daily. Leafy greens tolerate partial shade. Shade-loving plants like hostas and ferns actually suffer in full sun.
Sunlight intensity changes with season. A spot that gets full sun in summer may get only 4 hours in winter. If you're struggling with slow growth in winter, it's usually a light issue, not a watering or feeding problem.
Air circulation prevents fungal diseases. Crowded containers create humid microclimates where mildew and leaf spot thrive. Space pots apart so air moves freely around them. If you're growing indoors, a small fan on low speed helps tremendously.
Wind can be harsh on container plants, especially young ones. A balcony exposed to constant wind dries soil faster and can damage foliage.
Common Container Growth Problems and How to Fix Them
Yellowing Leaves
Yellow leaves usually indicate overwatering or nutrient deficiency. Check soil moisture first, if it's soggy, reduce watering frequency and ensure drainage is working.
Stunted Growth
Small, weak growth despite proper watering points to three culprits: insufficient light, overcrowding, or root-bound conditions. Move the pot to a brighter location.
Wilting Despite Wet Soil
This is root rot. Overwatering or poor drainage has killed the roots, and they can no longer absorb water. The only fix is immediate repotting.
Brown Leaf Edges
Salt buildup from fertilizer or hard water causes brown, crispy leaf edges. Flush the pot with distilled water to leach out accumulated salts.
Pest Problems
Indoor container plants attract spider mites, mealybugs, and scale insects. Inspect the underside of leaves regularly, early detection makes treatment much easier.
Container plant growth comes down to five fundamentals: proper drainage, quality soil, consistent watering, regular feeding, and adequate light. Master these, and you'll grow thriving plants in any space.
Beloit Plastics LLC's containers and saucers are engineered to support these practices. Their pots feature pre-drilled drainage holes, and their saucers are designed with a ribbed underside and support grid to prevent water from pooling on your deck or patio.

Get started with Beloit Plastics LLC containers and see how the right equipment transforms your container gardening results.
Frequently Asked Questions
What size pot is best for container plants?
Choose a container that is 1-2 inches larger in diameter than your plant's root ball. Too small and roots become cramped, restricting growth; too large and excess soil holds water, causing root rot. For herbs and small flowers, 4-6 inch pots work well. Larger vegetables and shrubs need 10-12 inch containers or bigger. Always ensure drainage holes are present to prevent waterlogging.
How often should you water plants in containers?
Check soil moisture daily by inserting your finger 1 inch deep. Water when the top inch feels dry, typically every 1-3 days depending on temperature, humidity, and pot size. Container plants dry out faster than in-ground plants because soil volume is limited. Overwatering is the leading cause of container plant failure. Use room-temperature water and water until it drains from the bottom.
What is the most common mistake with container plants?
Overwatering is the top mistake. Many gardeners water on a fixed schedule rather than checking soil moisture first. Poor drainage compounds this problem. Use pots with drainage holes and saucers that allow excess water to escape. If roots sit in standing water, they rot within days. The second common error is using garden soil instead of potting mix, which compacts and drains poorly in containers.
How often should you fertilize plants grown in containers?
Feed container plants every 2-4 weeks during the growing season (spring and summer) with a balanced, water-soluble fertilizer. Container plants exhaust nutrients faster than ground plants because frequent watering leaches nutrients from limited soil. Reduce feeding in fall and stop in winter unless growing indoors under lights. Follow package directions carefully to avoid fertilizer burn, which damages roots and stunts growth.